
Stay Connected Anywhere: The Global eSIM Revolution You Need to Know
A single global eSIM can replace dozens of physical SIM cards, letting you switch between mobile networks in over 200 countries without ever touching a tray. It works by securely downloading a carrier profile directly onto your device’s embedded chip, which you then activate via a QR code or app. The primary benefit is instant, automatic connectivity upon landing, while you manage all plans and top-ups from one centralized interface. To use it, simply purchase a plan, scan the provided code, and select the profile as your active line.
What Exactly Is an International eSIM and How Does It Work?
An international eSIM is a digital SIM profile that connects you to carrier networks across multiple countries without requiring a physical SIM card. Unlike a domestic eSIM tied to one operator, a global eSIM embeds a roaming profile from a parent provider, which automatically switches between partnered local networks. To use it, you scan a QR code or download a profile, then activate it only when you land. Your phone registers with the strongest available partner tower, and data is routed via IP-based switching, so you don’t re-authenticate per country. Crucially, connection works only where your eSIM provider has a roaming agreement, not everywhere on Earth. You manage data via a companion app, and coverage follows your location, not a physical carrier. It is ideal for multi-stop trips, but verify country-specific network partnerships beforehand.
The Simple Breakdown of Embedded SIM Technology
An embedded SIM, or eSIM, is a tiny chip soldered directly onto your device’s motherboard, replacing the physical plastic card. Unlike a removable SIM, you never swap it out; instead, you download a digital carrier profile onto that chip. For global travel, this means you can scan a QR code or use an app to instantly add a local or international data plan. The process typically involves three steps: first, you purchase a plan from a provider; second, you receive a profile via QR code or activation code; third, you install that profile in your device’s settings. The same physical chip can hold multiple profiles, but you can usually only use one at a time. Switching between countries, therefore, is just a matter of selecting another stored profile.
How Your Phone Connects to Local Networks Abroad Without a Physical Card
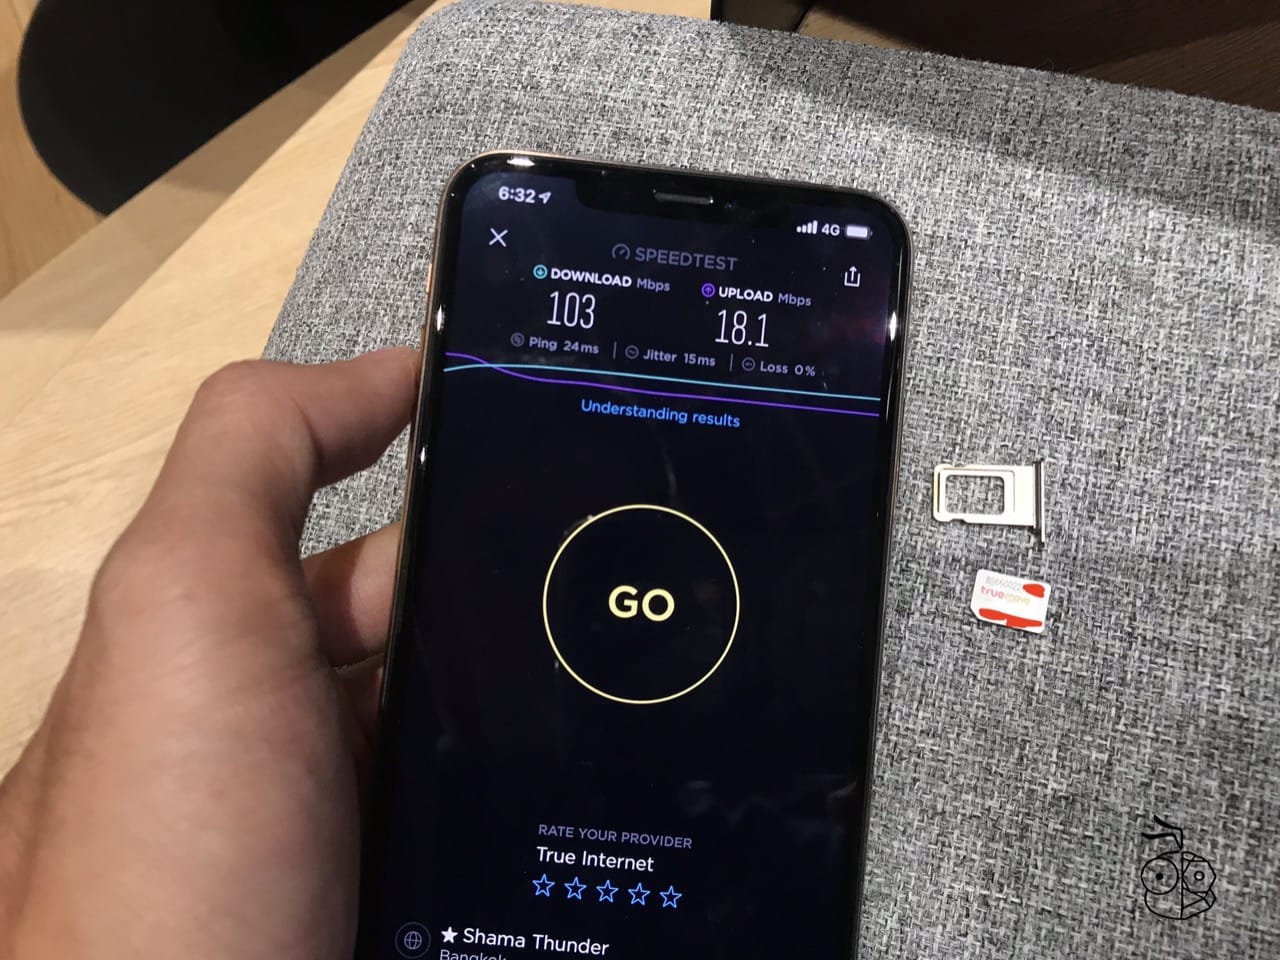
When you land abroad, your phone’s modem scans for available networks, but instead of matching a physical SIM’s IMSI, it reads a **digital eSIM profile** stored in the device’s secure element. This profile contains a virtual IMSI tied to a local carrier’s network, so your phone authenticates via over-the-air provisioning—no card swap required. The modem then selects the strongest compatible local tower using the profile’s allowed network list, establishing a data session through the host carrier’s core. Roaming is bypassed because the eSIM’s credentials are pre-negotiated with that specific local operator, enabling direct registration. Your phone’s baseband treats the eSIM as if it were a physical subscriber identity module, only without the physical contact—so switching networks is just a software toggle, not a tray ejection.
Why You Should Switch to a Digital Roaming Plan for Your Next Trip
Switching to a digital roaming plan with a global eSIM for your next trip eliminates the physical SIM swap and the hunt for local vendors, giving you instant connectivity the moment you land. You avoid unpredictable daily roaming fees by pre-selecting a transparent data package, ensuring cost-effective coverage across multiple countries without changing cards. A global eSIM lets you keep your primary number active for calls and SMS while using a separate data line, which is essential for banking and two-factor authentication. You can scan a QR code and be online in under two minutes, making it far faster than buying a local SIM at an airport kiosk. This approach simplifies your travel logistics, so you spend less time managing mobile services and more time exploring.
Cost Savings vs. Traditional International Roaming Charges
The most immediate benefit of a global eSIM is the dramatic reduction in roaming fees compared to traditional carrier charges. Instead of paying per-megabyte rates that can exceed $10 per day, you purchase a fixed data package at a local or regional price, often cutting costs by 50–90%. There are no surprise bills for background app updates or map downloads, because your spending is capped by the prepaid allowance. Traditional roaming also often requires daily activation fees, even if you use just one megabyte. An eSIM avoids this entirely, letting you pay only for the data you actually consume, with transparent pricing visible before you buy.
Switching to an eSIM eliminates daily activation fees and per-megabyte overcharges, offering predictable, prepaid data that is typically a fraction of traditional international roaming costs.

Instant Activation: Buying and Installing Before You Even Leave Home
Instant activation eliminates the airport hunt for physical SIM cards, as you purchase and install your global eSIM entirely before departure. The process involves scanning a QR code or entering a manual activation code into your device’s cellular settings, which takes roughly two minutes over any stable Wi-Fi connection. Once installed, the profile remains dormant until you arrive, so you avoid burning roaming days during transit. This pre-trip setup also allows you to verify network compatibility and data balance while still at home, reducing the risk of a connectivity failure abroad. The pre-departure eSIM installation becomes your primary fallback, ensuring the moment you land, you are online immediately, with no queue at a kiosk or reliance on airport Wi-Fi. This approach is purely transactional: buy, scan, configure, and lock in your coverage window before your plane leaves the gate.
Keeping Your Home Number Active While Using a Travel Data Plan
With a travel data plan, your physical SIM stays in your device, but **keeping your home number active** hinges on disabling data roaming for that line while leaving the SIM powered on. Your calls and SMS continue to arrive over Wi-Fi Calling or the home network’s legacy signal, though you must enable “Allow Calls on Other Devices” if using a secondary eSIM for data. To avoid bill shock, set the primary line to “Data – Off” and rely solely on the travel eSIM for connectivity. This preserves two-factor authentication and personal reachability without paying per-megabyte rates, while the travel data plan handles all internet-heavy tasks.
Keep your home SIM on, data roaming off, and your number stays live for calls and texts while the travel eSIM covers data.
Which Devices Support This Technology and How to Check Yours
Your phone’s IMEI isn’t the key—the *global eSIM* compatibility hinges on the hardware’s embedded chip and the carrier’s profile support. Most unlocked iPhones from the XS onward, Google Pixel models from the 3a, and recent Samsung Galaxy S or Note flagships include the necessary silicon. To check yours, dial `*#06#`; if you see an EID number alongside your IMEI, the slot exists. For a deeper verification, open your settings: on iOS, go to *Settings > Cellular > Add eSIM*, while Android users should navigate to *Settings > Connections > SIM Card Manager*. If the “add mobile plan” option appears, your device accepts a remote SIM profile. Still, not every eSIM-capable phone supports every carrier’s roaming profile, so always cross-reference your exact model—not just the brand—with the provider’s compatibility list before buying a plan.
Compatible Smartphones, Tablets, and Laptops (From Recent Models)
Most recent flagship phones from Apple, Samsung, and Google handle global eSIMs natively, so you can scan a QR code and be online in minutes. For tablets, iPads with cellular support and newer Surface Pro models let you add a travel plan without fiddling with a physical SIM. Laptops are catching up too—think recent MacBook Airs and Lenovo ThinkPads that bake in eSIM for always-connected 4G/5G. The easiest check? Dive into your settings—look for “Cellular” or “Mobile Data” and see if an “Add eSIM” option pops up. If it’s there, you’re set for seamless global connectivity on recent devices.
Quick Steps to Verify if Your Phone is Unlocked and Ready
To check if your phone is ready for a global eSIM, start by dialing `*#06#`—if you see an EID number, you’re already halfway there. Next, dive into your settings: on iPhone, tap *Settings > General > About* and look for “Carrier Lock”; on Android, it’s usually under *Settings > Connections > SIM Card Manager*. A quick trick is to pop in a different carrier’s physical SIM—if it works, your device is unlocked. For **the fastest unlock verification**, try scanning a QR code from a trial eSIM provider. Here’s what to confirm:
- Your phone isn’t carrier-locked to a specific network.
- Your model supports eSIM—check the manufacturer’s spec page.
- The “Add eSIM” option appears in your network settings.
How to Choose the Right Data Package for Your Travel Needs

Picking a global eSIM data package starts with matching the data allowance to your actual usage—streaming video or hotspotting eats gigs fast, so overestimate if you rely on maps and social feeds. Check the coverage map for your specific destinations, not just “global,” since some packages skip rural regions or entire countries. Compare validity periods against your trip length; a 15-day plan wastes money if you travel for ten, while a 30-day one might cost less per day. For multi-country trips, prioritize regional plans over single-country ones—they’re cheaper than stacking local eSIMs. Finally, read the fine print on speed throttling after a daily cap, because unlimited plans often drop to 2G, making navigation painfully slow. Match the package to your itinerary, not the cheapest headline price.
Data Allowance Calculators: Matching Gigabytes to Your Browsing, Streaming, and Navigation Habits
Before buying a global eSIM, a data allowance calculator turns guesswork into precision by translating your actual habits into gigabyte needs. Start by logging your typical day: 30 minutes of map navigation uses roughly 150 MB, while an hour of HD streaming on a commute can burn 2–3 GB. Then, multiply those figures by your trip’s length, adding a 20% buffer for photo uploads or unexpected video calls. Most travel-focused calculators let you toggle between browsing (light, ~50 MB/hour) and streaming (heavy, ~1.5 GB/hour), giving you a realistic package size—not the cheapest, not the largest, but the one that fits your usage curve without topping up mid-trip.
Regional Plans vs. Worldwide Coverage—What’s the Real Difference in Speed and Reach?
Regional plans tap into local towers, so you get faster speeds in that specific area—think of it as a dedicated lane. Worldwide coverage juggles multiple carrier agreements, which can add slight latency as your signal hops between networks. For reach, worldwide wins when you cross borders unexpectedly. But regional eSIM plans often deliver better speed in their home zone because they aren’t negotiating handoffs. Your decision hinges on your itinerary: a single country or tight region favors a regional plan, while a multi-stop trip demands the flexibility of global reach, even if that means occasionally slower connections.
- Regional plans prioritize speed within their zone; worldwide plans prioritize connection availability.
- Worldwide coverage shines for spontaneous border crossings; regional plans excel in predictable, focused travel.
- Speed differences are most noticeable in remote spots, where global networks may rely on weaker partner towers.
Validity Lengths and Top-Up Options for Multi-Country Itineraries
For multi-country itineraries, validity lengths determine how long your data remains usable, typically ranging from 7 to 90 days, while top-up options for multi-country itineraries offer flexibility if you under-buy. To avoid a dead zone mid-trip, first map your total travel days and match a validity window that covers the entire journey, not just active usage days. If your route extends beyond the initial period, check whether the eSIM supports rechargeable top-ups before expiry; many providers allow adding data to the same package, but some require a new plan. A logical sequence: 1) select a validity length exceeding your last travel date, 2) purchase a baseline data volume, 3) monitor consumption via the app, and 4) apply a top-up only when nearing the cap. This prevents forced re-purchases at higher single-country rates.
Your Step-by-Step Setup Guide for a Hassle-Free First Installation
Your step-by-step setup guide for a hassle-free first installation begins with confirming device compatibility under a dedicated eSIM settings menu before purchase. The guide directs you to scan the QR code provided by your global eSIM provider exactly once, avoiding repeated scans that trigger validation errors. Next, it instructs you to label the new profile clearly (e.g., “Travel Data”) and set it as the default for cellular data while keeping your primary line active for calls. A critical step is enabling roaming, both in the phone’s New Zealand eSIM settings and within the eSIM app, or the connection stays dead. After installation, the guide advises a full restart—not just toggling airplane mode—to force the network registration. If activation stalls, re-enter the activation code from the email confirmation rather than rescanning. The guide’s core rule is to install the eSIM before departure while on Wi-Fi, eliminating any dependency on local networks during travel.
Always download the provider’s troubleshooting profile after installation, but never delete the original QR email until your trip ends.

Scanning the QR Code vs. Manual Entry: What to Expect
When installing a global eSIM, expect scanning a QR code to be the fastest, most accurate route—your phone’s camera captures the activation string in seconds, eliminating typos entirely. Manual entry, by contrast, demands you type a long SM-DP+ address and activation code precisely, which is slow and error-prone, especially on a small screen. For the hassle-free first installation, always prefer the QR method if your carrier provides it, as it auto-fills all credentials. Manual entry remains a reliable fallback only when the QR fails or is unavailable, but be prepared for potential retries.
- QR scanning takes under 10 seconds; manual entry can take 2–5 minutes.
- QR eliminates character confusion (like 0 vs O); manual entry risks repeated failure.
- Manual entry works if your phone’s camera is broken or QR is missing.
Adjusting APN and Data Roaming Settings to Get Connected Instantly
To get connected instantly with your global eSIM, the first move is enabling **data roaming**—this isn’t a charge trigger but the gateway for eSIM networks to authenticate. Next, check your APN settings: most global eSIMs auto-fill them, but if you see “Access Point Name” blank, input the exact APN from your provider’s setup email. Follow this quick sequence:
- Toggle on “Data Roaming” in your cellular settings.
- Select your eSIM line as the default for data.
- Manually type the APN (often “global” or “esim”) and save.
- Restart your phone once—this forces the network profile to refresh.
After that, you’ll see the signal bars light up within seconds, no reboots needed repeatedly. If it still fails, double-check that your phone is unlocked—locking can block the APN’s auto-configuration, so manual entry becomes your instant fix.
Troubleshooting Common Connection Issues When You Land
Once you land, if data refuses to activate, first toggle airplane mode on for thirty seconds—this forces your device to re-register with the local tower. If that fails, manually select your carrier under network settings instead of relying on automatic roaming. **A quick APN reset often resolves persistent no-service errors**, so verify the exact APN string from your eSIM provider’s confirmation email. For multi-country plans, confirm you’ve actually crossed into the coverage zone; signal can lag at borders. Rarely, the eSIM profile itself needs a re-download, so keep a backup Wi-Fi hotspot from the airport lounge handy. Finally, check that data roaming is enabled for your specific eSIM line—not just the device globally—as this single toggle causes most post-flight confusion.